
Tools-
5/16 socket, extension, ratchet, etc, to remove bolts and possibly clamps
1/4" nut driver, to possibly remove clamps
flat blade screw driver, cause you always need one for something
snap blade utility knife, to cut the filer element
sharp chisel, 1/2" or so, to remove the glue
Dremel with cut off wheel, cause it works a whole lot better than a hack saw
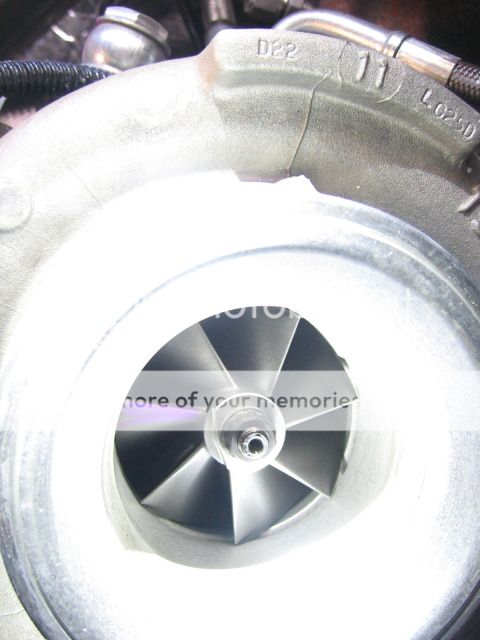
So I guess the idea here is to protect this and everything after it from oil build up and crap.
![Image]()
Also, I guess there is the potential for the CCV filter to become overly clogged with oil and not allow the crankcase to vent properly, which supposedly would be hard on various seals throughout the engine. Plus, no self respecting American would have their diesel engine eating it's own waste... here in America we just dump that crap on the ground ;-)
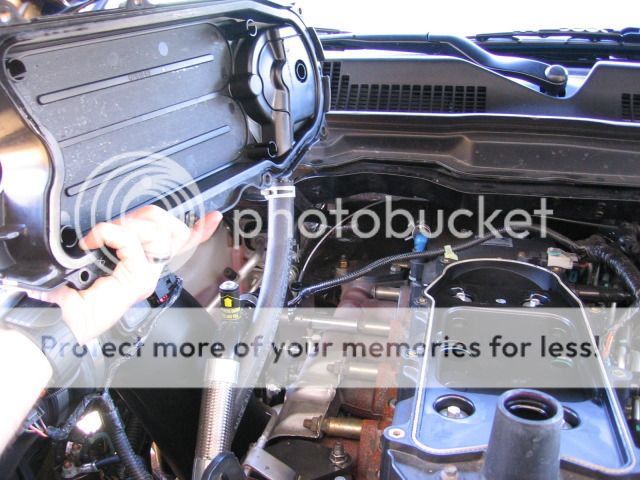
So first I just removed the CCV hose, then the eight bolts that hold the valve cover-cover or CCV filter cover down, then the oil cap. Then lift it straight off. Put the oil cap back on and cover up the top of the valve cover with something to keep crap from falling down in there.
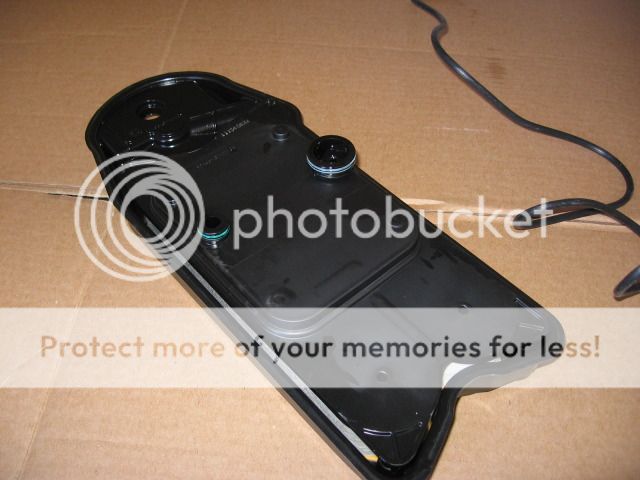
Remove the filter from the cover and it will look like this.
![Image]()
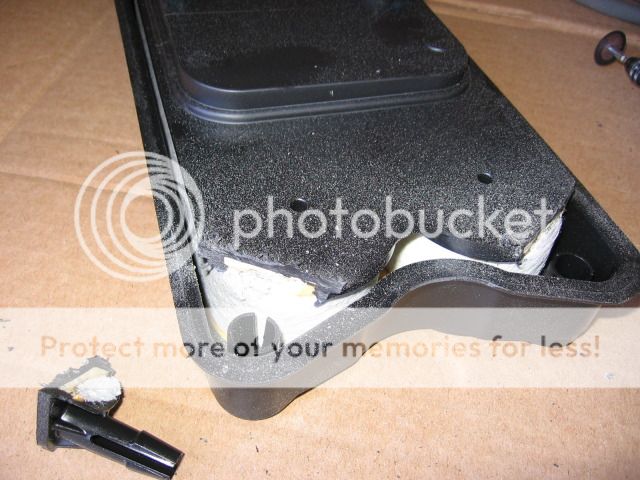
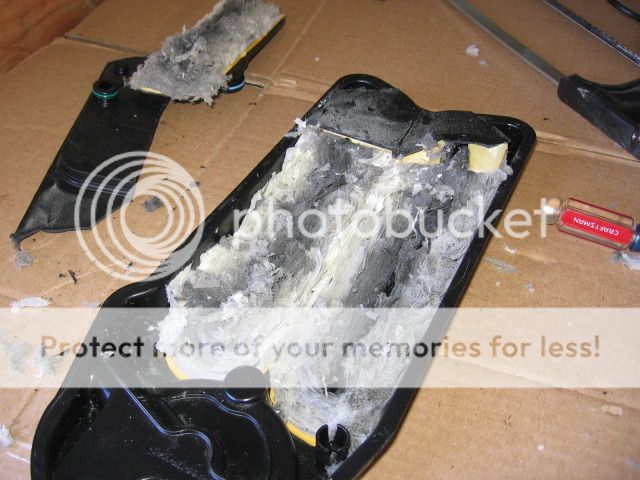
This part you can do however you want, just don't break the main housing. I cut the corners off like this with the dremel tool and then the posts pull up and out of there, no glue at all.
![Image]()
![Image]()
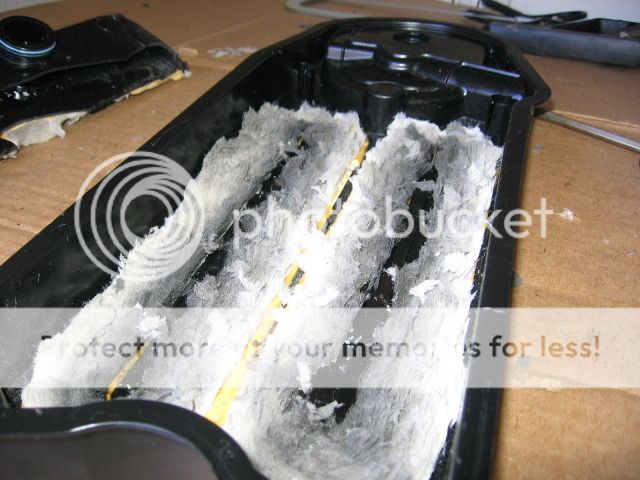
Next I cut right down the middle so I could work on both side separately.
I then started to do a little prying, You can see how it broke apart, just don't brake the part you are saving. I could extend a snap blade utility knife way out and kinda slip it in there and cut the plastic from the filter material. I was able to finally pull one side off, then the other. I'm throwin in a couple extra pics... you guys that really wanna know how this works from the factory should be able to see and know what you are looking at.
![Image]()
![Image]()
![Image]()
![Image]()
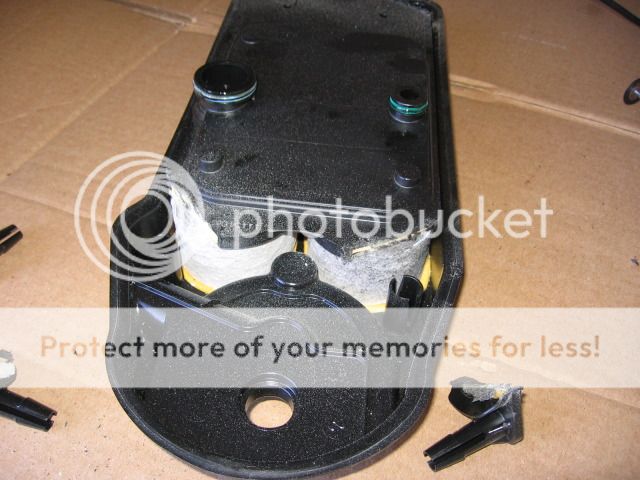
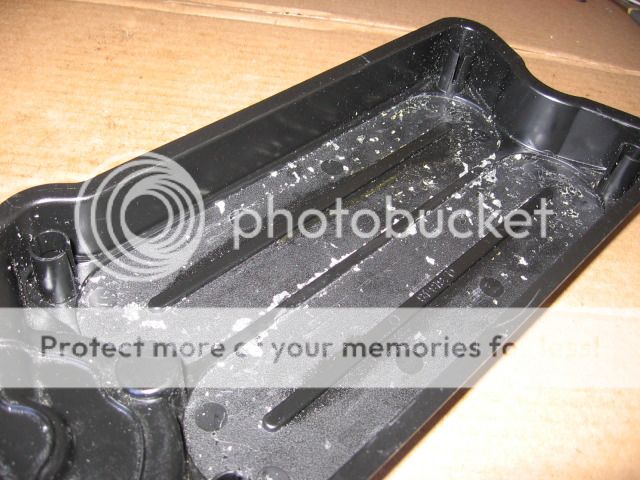
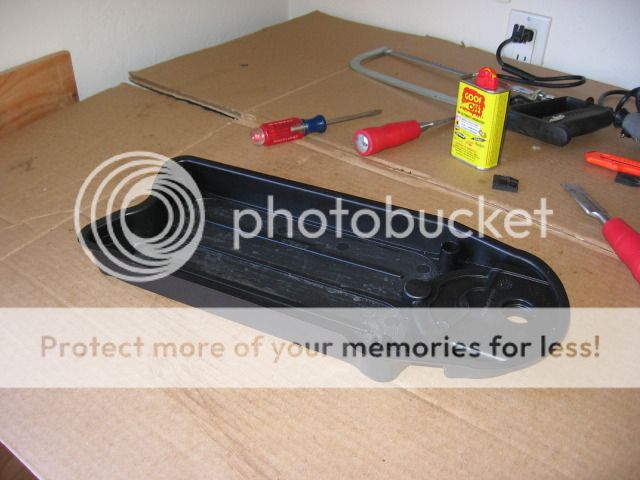
Once you get both sides off and most of the filter material gone it will look like this.
![Image]()
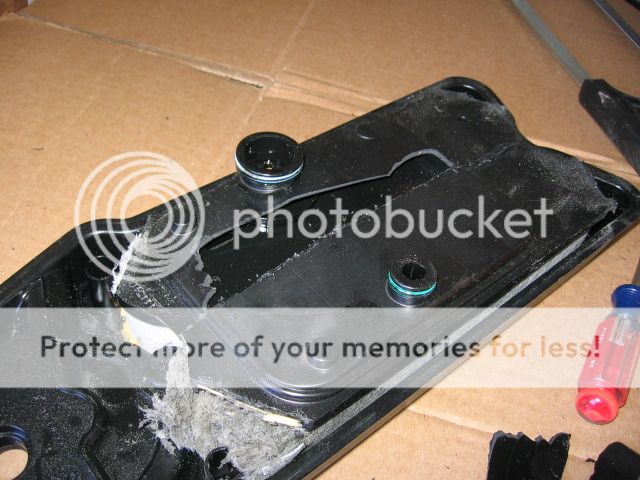
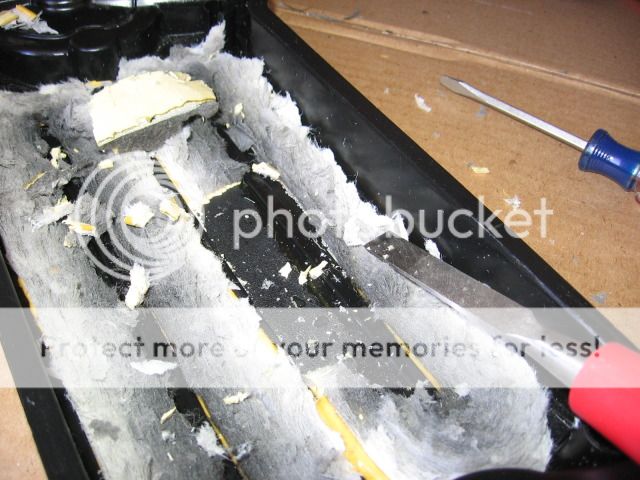
Now the easy part (literally). I found the best thing to use for the next part was a chisel... make sure it is stupid sharp. I used a relatively narrow one (1/2"). Each channel is about 3/4"-1" wide... The glue comes up so easy though. Once you get under it, it will practically peel off. It would probably have peeled off easier if it was warmer than 40 degrees in my garage.
![Image]()
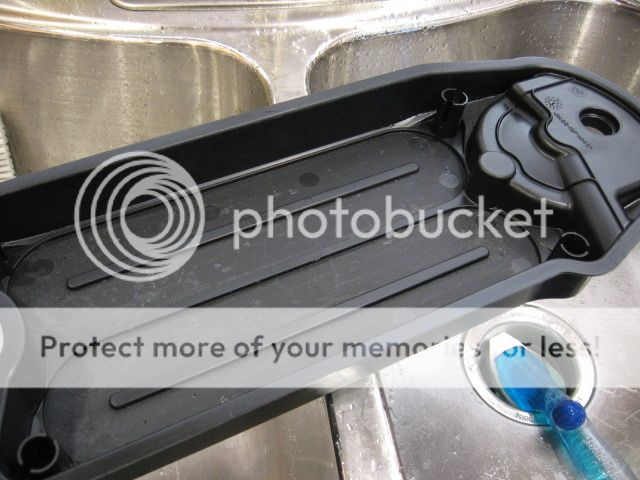
Now just remove the remaining bits of glue and clean it up in the kitchen sink when your wife isn't lookin. I used some goof-off and rubbing alcohol to just to be safe.
![Image]()
![Image]()
![Image]()
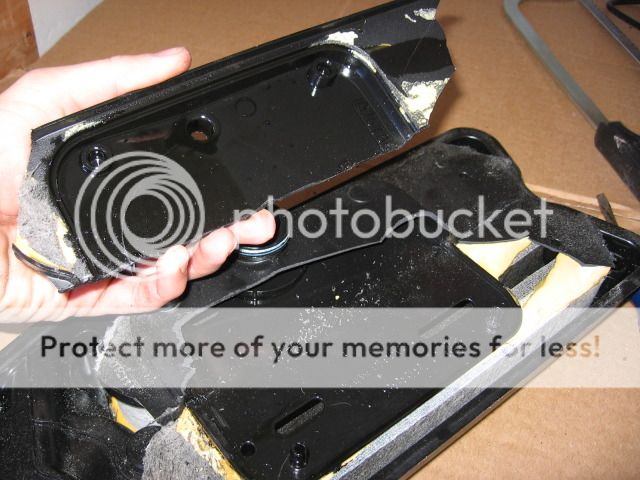
This is a picture of the under side of the cover. I'm not sure what this contraption is, but when I blew through it there was no restriction at all either way, so I figured I'd leave it be.
![Image]()
Now just stick whats left of the filter you modified back into the cover (it will hang in there on it's own). Put the cover back on the valve cover and bolt it back down.
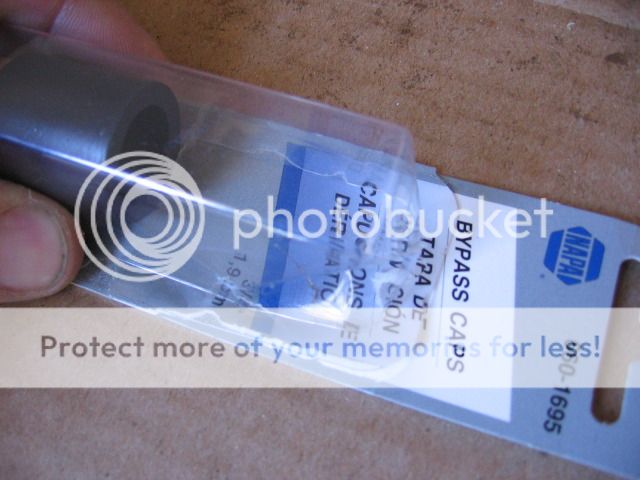
I bought these from NAPA. I used one to cap my S&B intake.
![Image]()
![Image]()
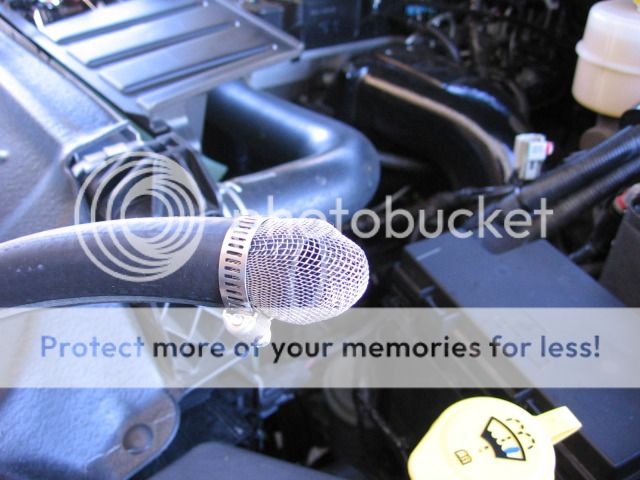
While you are at NAPA getting the cap for your intake, buy about 4'-5' of 3/4" heater hose. I cut a small piece of wire mesh to put over the drain end. I park my truck for long periods of time and I didn't want any critters running up that tube.
![Image]()
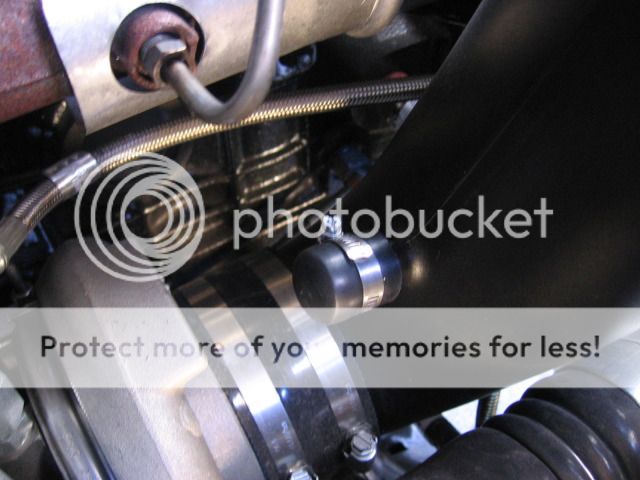
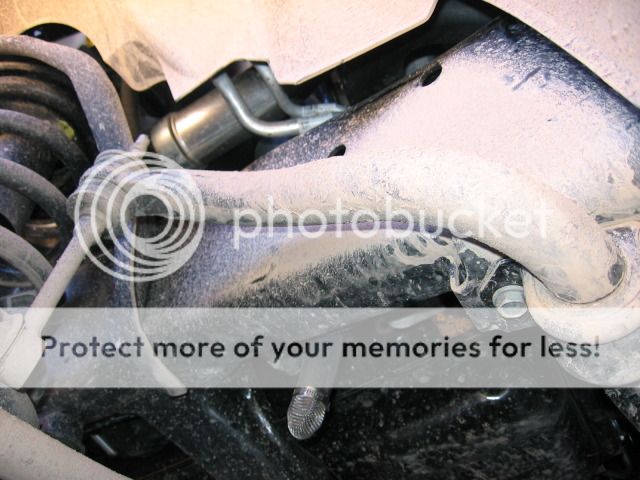
I routed my tube down the passenger side of the engine, towards the front just behind the alternator. You should be able to see from the pictures. I wanted it to hang at or in front of the front tires to minimize it's exposure to dust... though that really should matter anyway. Get underneath the truck and pull or push it to the level you want it to hang (mine is just below the bottom of the frame). Now go back up top, but it the right length and attach it to the filter cover connection.
![Image]()
![Image]()
Should be good to go!
No CEL. I do have a mini maxx, but that shouldn't matter, anyone can do this.
I ran mine a little and then took the cover back off. I figured there would be oil all over in there... but there wasn't. There was none at all. So I guess the way the valve cover is shaped, the only thing that really comes up is oil vapors and air. I am pretty sure any oil vapors that come out will condense on the inside of the filter housing and drain back in, I don't anticipate any oil ever dripping out of the puke tube. Here is a picture after running for a bit.
![Image]()
5/16 socket, extension, ratchet, etc, to remove bolts and possibly clamps
1/4" nut driver, to possibly remove clamps
flat blade screw driver, cause you always need one for something
snap blade utility knife, to cut the filer element
sharp chisel, 1/2" or so, to remove the glue
Dremel with cut off wheel, cause it works a whole lot better than a hack saw
So I guess the idea here is to protect this and everything after it from oil build up and crap.
Also, I guess there is the potential for the CCV filter to become overly clogged with oil and not allow the crankcase to vent properly, which supposedly would be hard on various seals throughout the engine. Plus, no self respecting American would have their diesel engine eating it's own waste... here in America we just dump that crap on the ground ;-)
So first I just removed the CCV hose, then the eight bolts that hold the valve cover-cover or CCV filter cover down, then the oil cap. Then lift it straight off. Put the oil cap back on and cover up the top of the valve cover with something to keep crap from falling down in there.
Remove the filter from the cover and it will look like this.
This part you can do however you want, just don't break the main housing. I cut the corners off like this with the dremel tool and then the posts pull up and out of there, no glue at all.
Next I cut right down the middle so I could work on both side separately.
I then started to do a little prying, You can see how it broke apart, just don't brake the part you are saving. I could extend a snap blade utility knife way out and kinda slip it in there and cut the plastic from the filter material. I was able to finally pull one side off, then the other. I'm throwin in a couple extra pics... you guys that really wanna know how this works from the factory should be able to see and know what you are looking at.
Once you get both sides off and most of the filter material gone it will look like this.
Now the easy part (literally). I found the best thing to use for the next part was a chisel... make sure it is stupid sharp. I used a relatively narrow one (1/2"). Each channel is about 3/4"-1" wide... The glue comes up so easy though. Once you get under it, it will practically peel off. It would probably have peeled off easier if it was warmer than 40 degrees in my garage.
Now just remove the remaining bits of glue and clean it up in the kitchen sink when your wife isn't lookin. I used some goof-off and rubbing alcohol to just to be safe.
This is a picture of the under side of the cover. I'm not sure what this contraption is, but when I blew through it there was no restriction at all either way, so I figured I'd leave it be.

Now just stick whats left of the filter you modified back into the cover (it will hang in there on it's own). Put the cover back on the valve cover and bolt it back down.
I bought these from NAPA. I used one to cap my S&B intake.
While you are at NAPA getting the cap for your intake, buy about 4'-5' of 3/4" heater hose. I cut a small piece of wire mesh to put over the drain end. I park my truck for long periods of time and I didn't want any critters running up that tube.
I routed my tube down the passenger side of the engine, towards the front just behind the alternator. You should be able to see from the pictures. I wanted it to hang at or in front of the front tires to minimize it's exposure to dust... though that really should matter anyway. Get underneath the truck and pull or push it to the level you want it to hang (mine is just below the bottom of the frame). Now go back up top, but it the right length and attach it to the filter cover connection.

Should be good to go!
No CEL. I do have a mini maxx, but that shouldn't matter, anyone can do this.
I ran mine a little and then took the cover back off. I figured there would be oil all over in there... but there wasn't. There was none at all. So I guess the way the valve cover is shaped, the only thing that really comes up is oil vapors and air. I am pretty sure any oil vapors that come out will condense on the inside of the filter housing and drain back in, I don't anticipate any oil ever dripping out of the puke tube. Here is a picture after running for a bit.